Filming and editing a documentary is an exciting way to tell a true story. If you’re new to documentary filmmaking, it can feel overwhelming. But don’t worry! With the right techniques and tools, anyone can learn how to film and edit a documentary. In this article, we’ll explore some key steps you can follow to create a powerful documentary from start to finish.
1. Planning Your Documentary
Before you start filming, it’s crucial to plan. Planning will help you stay focused and organized as you work through the process.
How to Choose Your Topic
The first step is choosing a strong topic. Your documentary should focus on something meaningful and interesting. It could be about a person, an event, a social issue, or something else that sparks your passion. Once you have your topic, think about how to tell the story. Consider what kind of message you want to send.
Research and Outline Your Story
Next, do thorough research. Collect all the facts and details you need to tell the story accurately. Afterward, create an outline. This will be a guide for your documentary, helping you know what to film and how to structure the story.
2. Filming Your Documentary
Now it’s time to start filming! Knowing how to film and edit a documentary can take your story to the next level. Here are some basic tips to help you capture great footage.
Use the Right Equipment
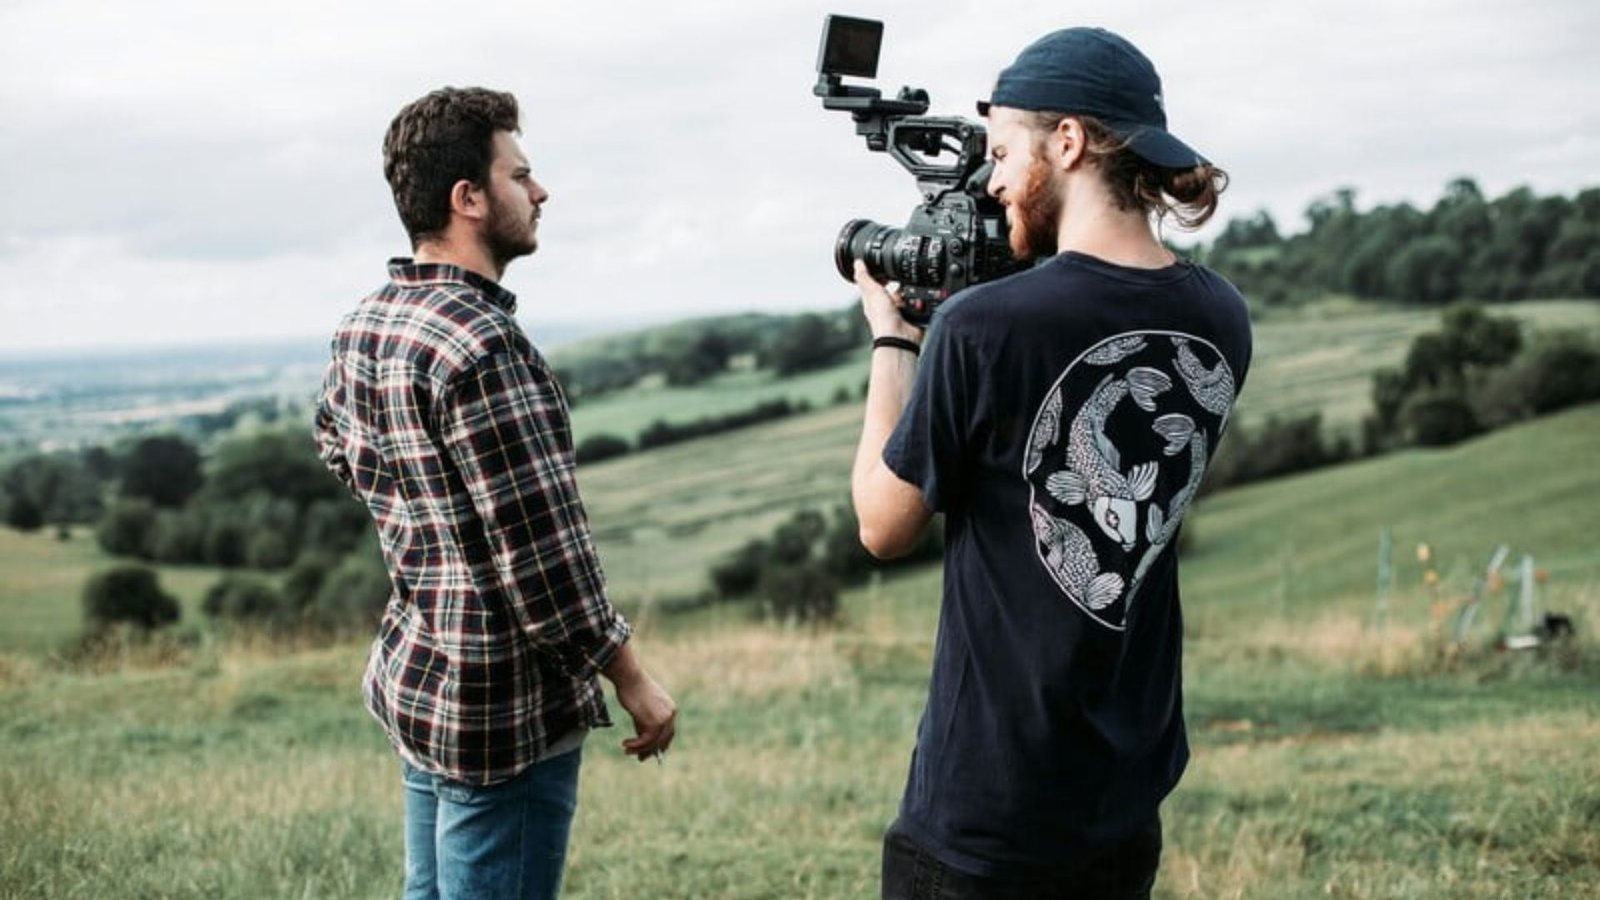
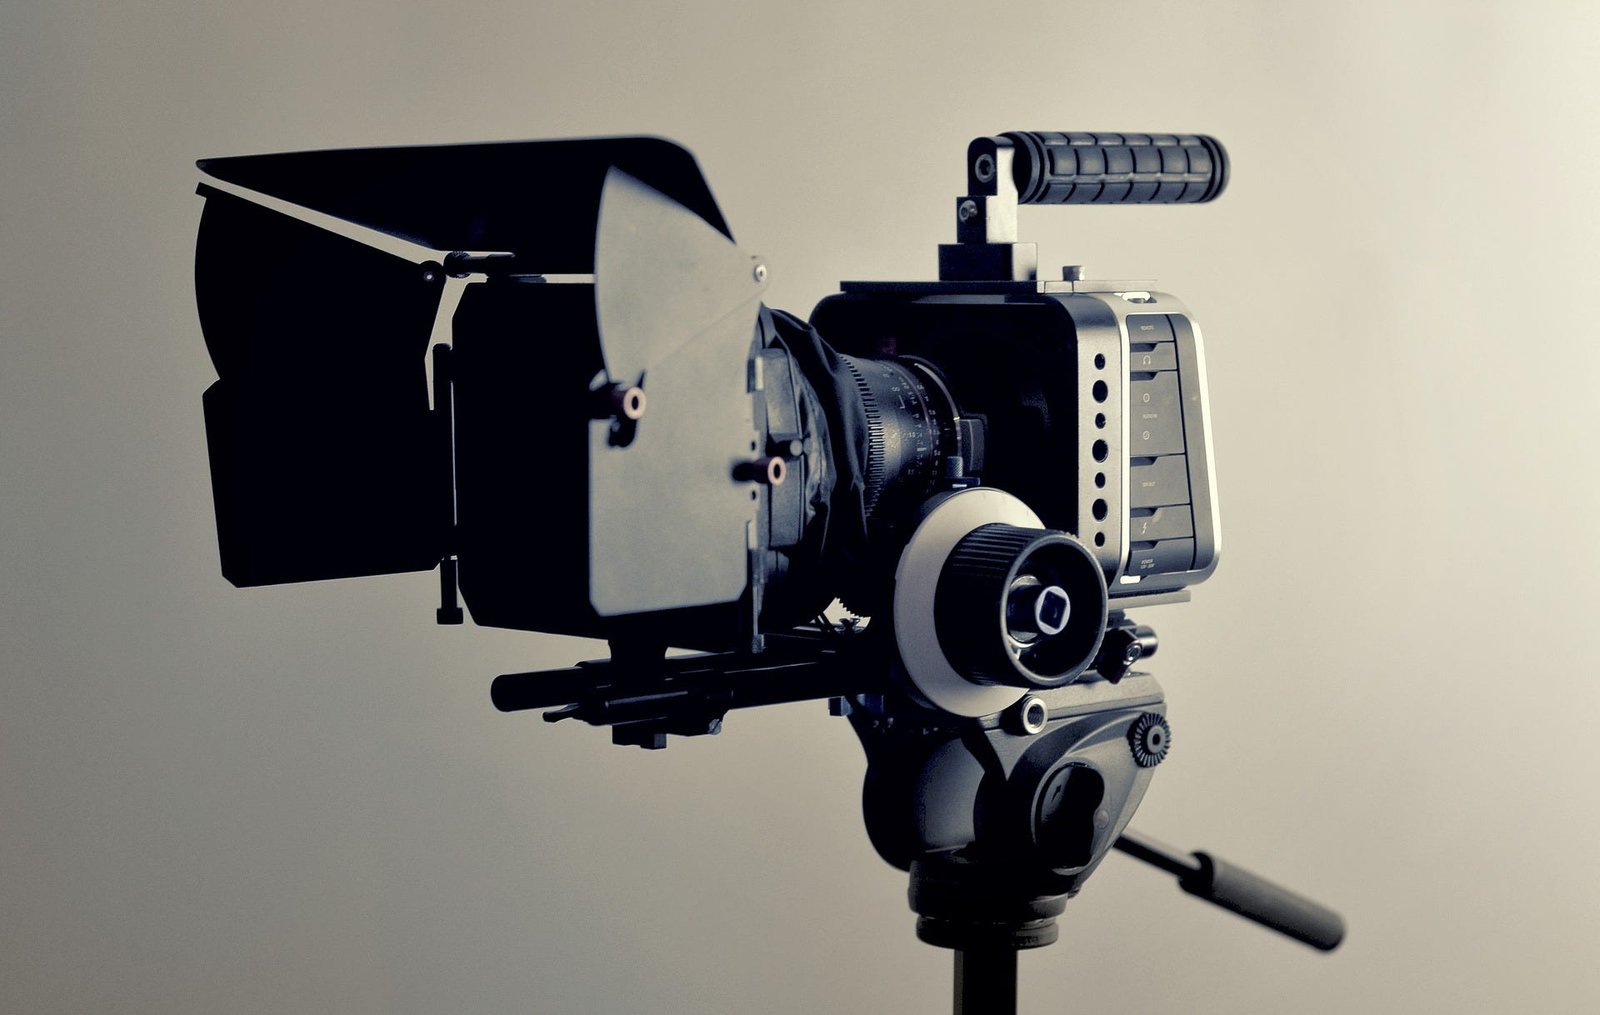
While you don’t need the most expensive gear, having the right equipment will make a big difference. A good camera, microphone, and tripod are essential for high-quality footage. The camera should allow you to shoot in high resolution, and the microphone should clearly capture sound. A tripod helps keep your camera steady while filming.
Frame Your Shots
Composition is important when filming. Try to frame your shots in a way that makes the story visually interesting. Use techniques like the “rule of thirds” to place key elements in the scene. Also, vary your shots—wide shots, close-ups, and mid-range shots can all add interest to your documentary.
Get Permission and Be Respectful
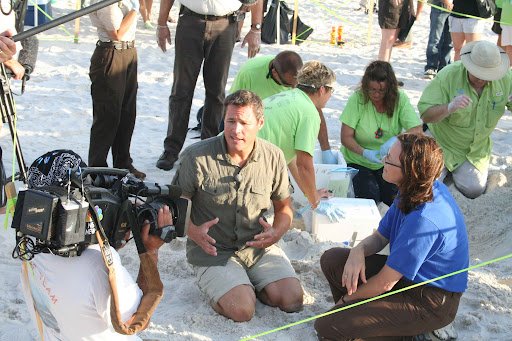
If you’re filming people or places, make sure you get permission before you start recording. Respect your subjects and make them feel comfortable. In documentaries, trust is essential. Your subjects should feel like they can share their story with you openly.
3. Editing Your Documentary
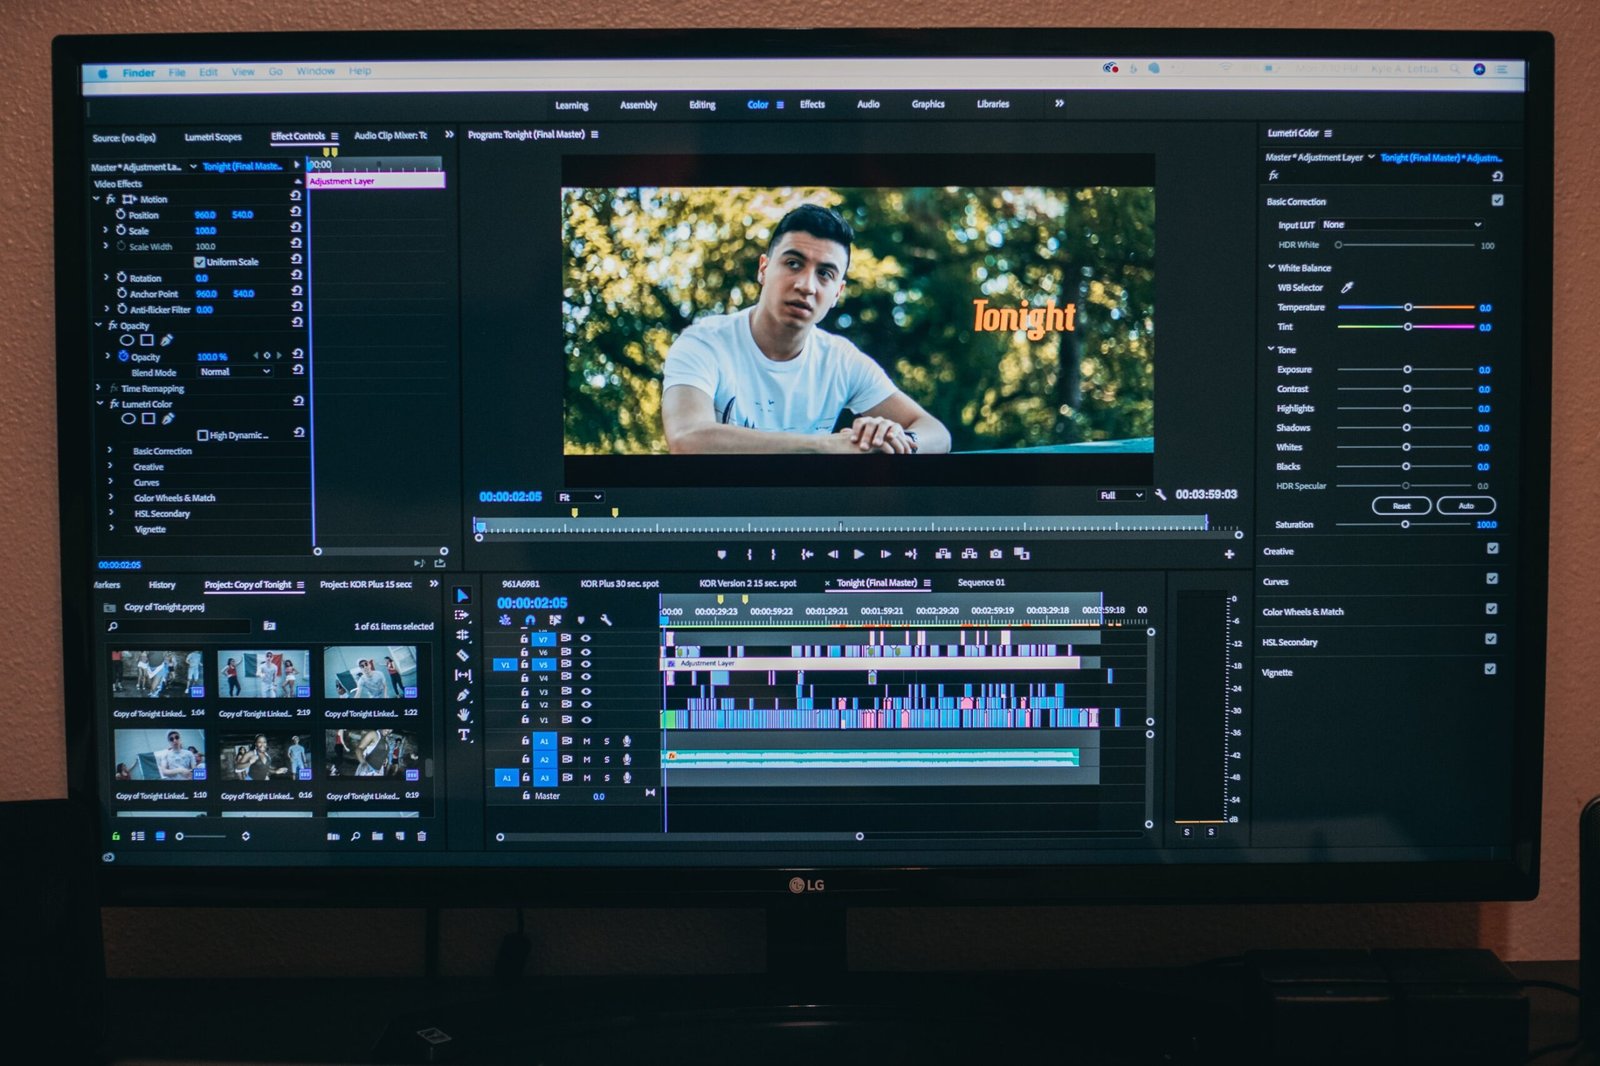
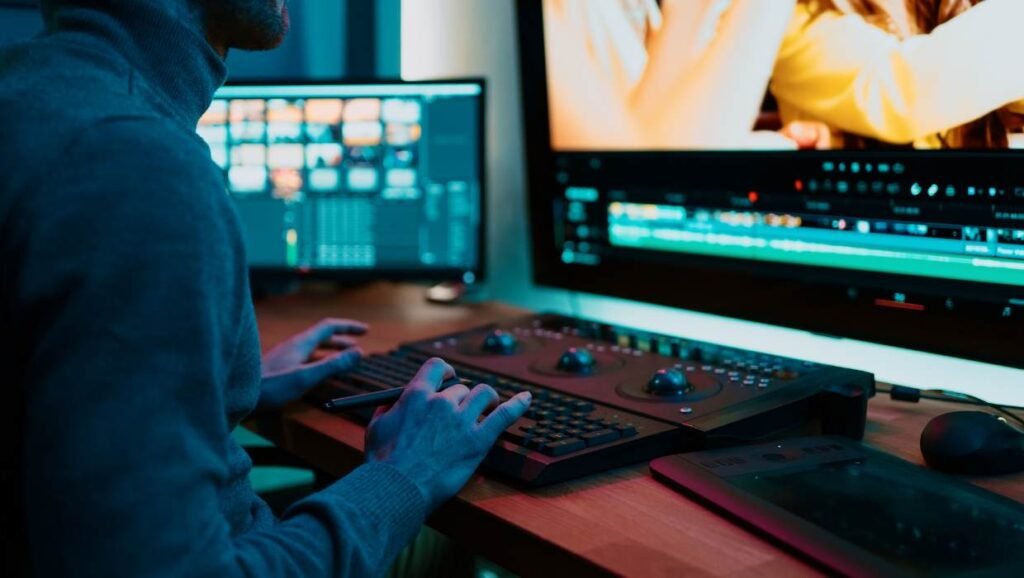
After filming, the next step is editing your documentary. Editing is where you can shape your story and bring it to life. Here are a few editing tips to help you create a smooth, engaging documentary.
Choose the Right Software
There are many editing software options out there, from beginner-friendly programs like iMovie to professional tools like Adobe Premiere Pro. Choose one that suits your experience and budget. Make sure the software has enough features to give you control over your footage.
Organize Your Footage
Before you start editing, organize all your footage. Label your clips and group them by scenes or topics. This will make the editing process much easier and faster. You’ll be able to find the right shots quickly when you need them.
Create a Rough Cut
Start by creating a rough cut of your documentary. This is the first draft, where you arrange your clips in the order that tells the story. Focus on the overall flow rather than making everything perfect. Cut out any unnecessary shots or scenes that don’t contribute to the main story.
4. Adding Sound and Music
Sound plays a crucial role in documentaries. Clear audio helps tell the story more effectively.
Record Clear Audio
If your audio isn’t clear, it can make your documentary hard to understand. Invest in a good microphone or use lapel mics to capture crisp sound. During filming, try to avoid noisy environments, and make sure your subjects speak clearly.
Use Music Carefully
Music can add emotion to your documentary, but use it carefully. Too much music can distract from the story. Choose music that matches the tone of your film. Also, make sure you have the right to use the music in your documentary. You can find royalty-free music online or hire a composer to create original music.
5. Finalizing Your Documentary
Once your rough cut is done and the audio and music are added, it’s time to finalize your documentary.
Add Titles and Transitions
Titles and transitions can help your documentary flow more smoothly. Use titles to introduce new sections or provide context. Simple transitions between scenes can also help the story feel connected and natural.
Review and Make Adjustments
After you’ve added everything, watch your documentary multiple times. Make sure the story is clear, the pacing is right, and the visuals match the message. Adjust the length of some shots, fix any audio problems, and ensure the documentary feels cohesive.
Conclusion: Start Filming and Editing
Now you know how to film and edit a documentary. The process may take time and effort, but with careful planning, great footage, and thoughtful editing, you can create a documentary that tells a powerful story. Don’t be afraid to experiment, and most importantly, have fun with it! Whether it’s your first documentary or your tenth, each project will help you grow as a filmmaker. So grab your camera and start capturing the world around you!


