


Lighting is one of the most crucial elements in professional photography. It has the power to dramatically influence the mood, composition, and overall quality of an image. Whether you’re shooting portraits, landscapes, or still life, the way light interacts with your subject can make or break a photograph. Understanding how to manipulate light, control shadows, and use various lighting setups is essential for photographers who want to produce high-quality, visually striking images.
In this blog post, we will explore the role of lighting in professional photography, the different types of lighting, and how to use them effectively to elevate your images.
The Power of Lighting in Photography
Lighting not only illuminates the subject but also shapes the overall look and feel of the photo. By manipulating light, photographers can highlight textures, create depth, and even add a dramatic flair to the composition. Proper lighting can transform an ordinary shot into something extraordinary, while poor lighting can result in flat, lifeless images.
The role of lighting in photography goes beyond just making the subject visible—it creates mood, defines shapes, and establishes a sense of time and place. The right lighting can bring out the best in a subject, while the wrong lighting can obscure details or make the image appear unflattering.
Types of Lighting in Photography
There are several types of lighting used in photography, each serving a specific purpose and effect. Below are the most commonly used lighting techniques:
1. Natural Lighting
Natural light refers to the light that comes from the sun. It’s the most accessible and often the most flattering type of light for portraits and landscape photography. The key to working with natural light is understanding how it changes throughout the day.
- Golden Hour: The period shortly after sunrise and before sunset, when the sun is low in the sky and the light is soft and warm, creating a pleasing, golden glow. This is often considered the best time to shoot portraits and outdoor scenes.
- Overcast Days: On cloudy days, the clouds act as a natural diffuser, creating soft, even light that reduces harsh shadows and is flattering for portraits.
While natural light can be beautiful, it can also be unpredictable. Photographers must learn how to work with it and adapt to changing lighting conditions.
2. Artificial Lighting
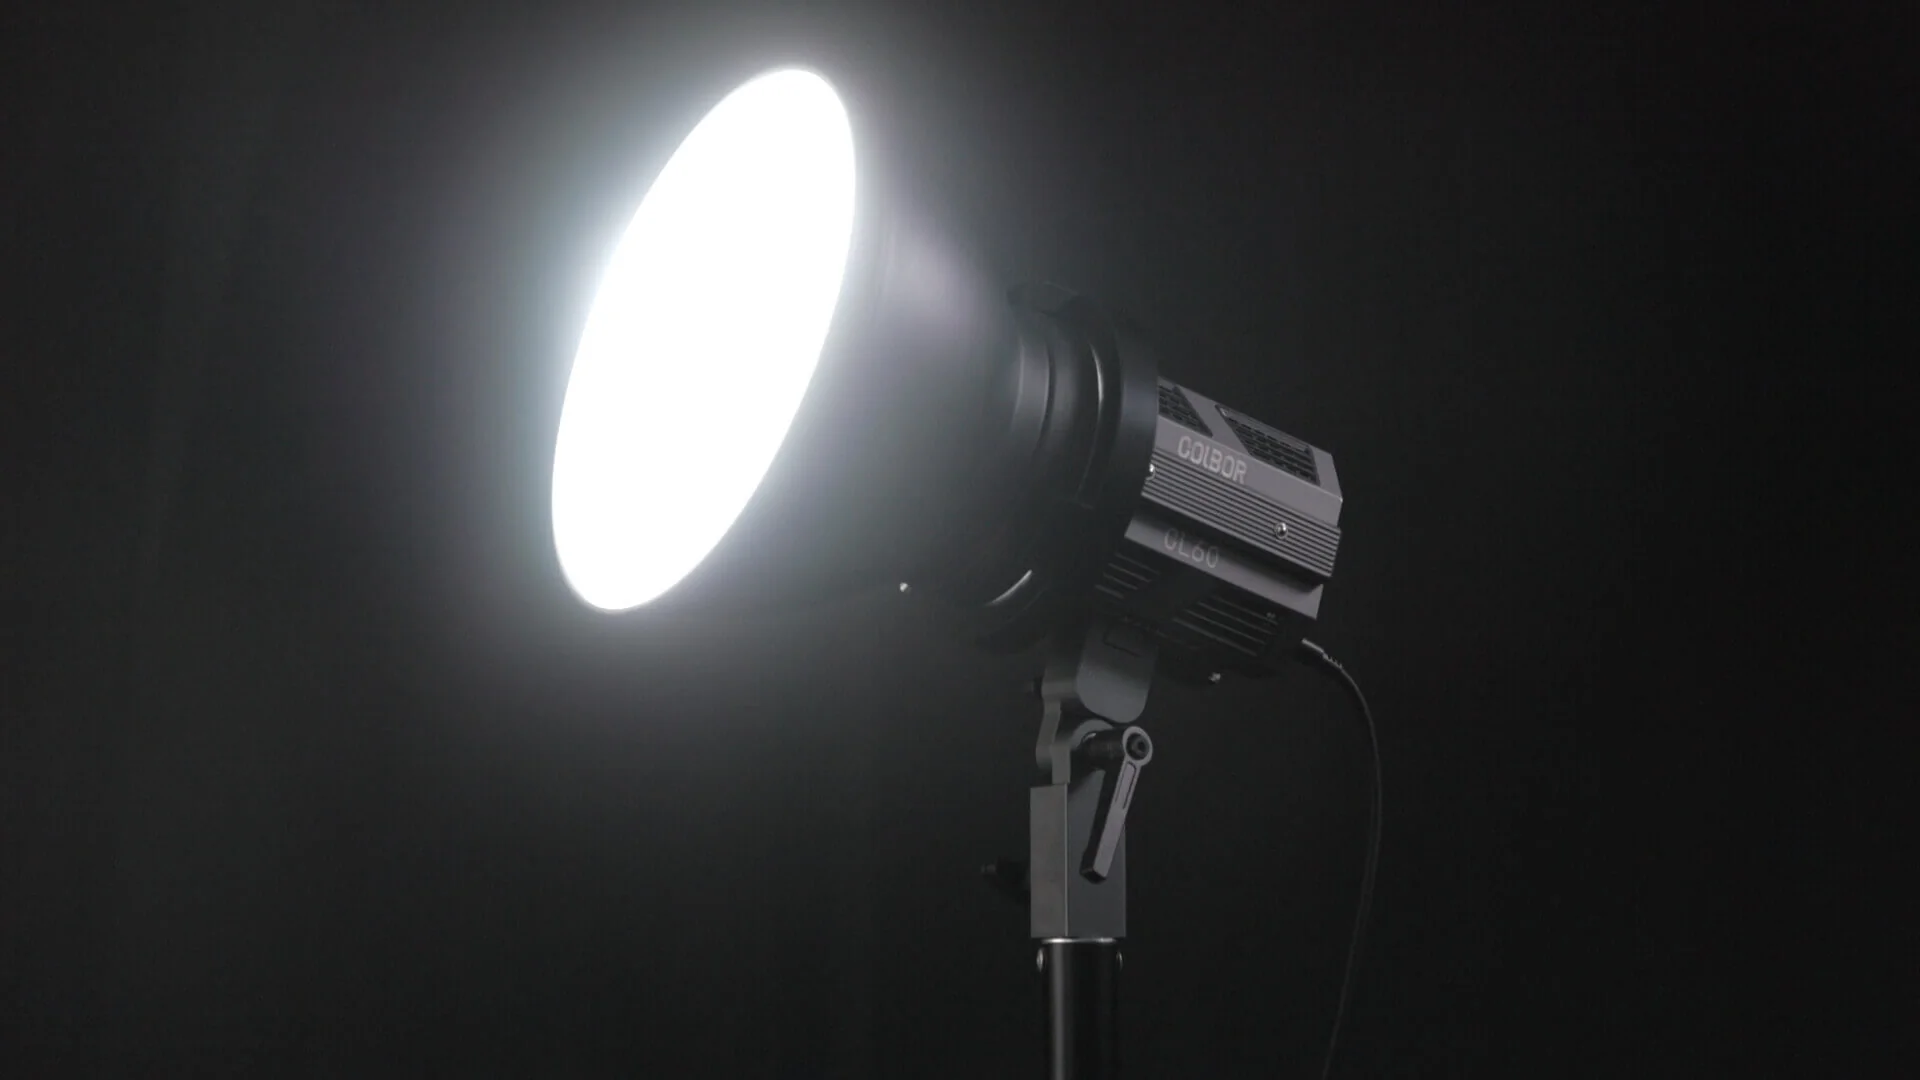
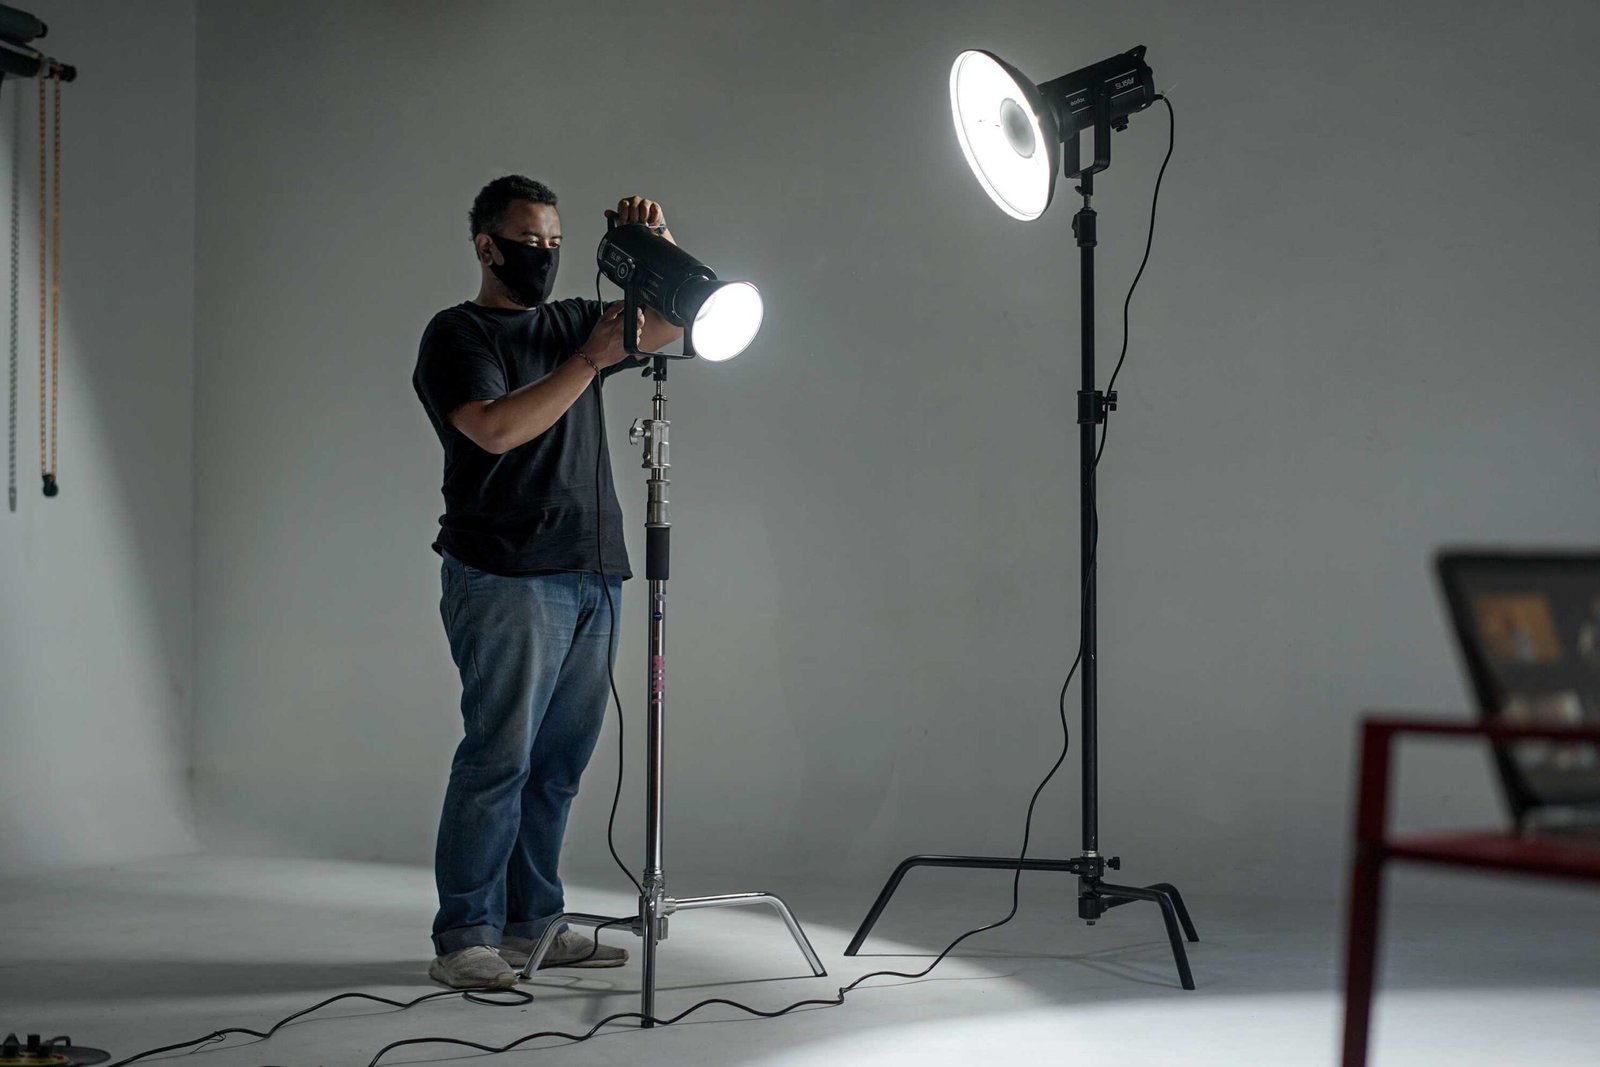
Artificial lighting, as the name suggests, comes from man-made sources. This includes studio lights, flashes, and other types of lighting equipment. Artificial light gives photographers more control over the intensity, direction, and color of the light.
- Continuous Lighting: These lights are always on and provide a constant light source. They are great for video work or for photographers who want to see how the light is affecting the subject in real time. Examples include LED panels and tungsten lights.
- Flash Photography: Flash lights are used for short bursts of light, typically during fast-paced photography, such as sports or events. The flash freezes motion and provides an intense light to illuminate a scene.
While natural light is ideal in many situations, artificial lighting allows for greater creative control, especially in studio settings.
3. Hard vs. Soft Lighting
One of the most important distinctions in lighting is between hard and soft light. These two lighting types create very different visual effects.
- Hard Light: Hard light produces sharp, well-defined shadows. It is often created by small light sources or direct light sources, such as the midday sun or a small flash. Hard light can create high contrast and dramatic effects, which is useful for portraiture or creating an intense mood.
- Soft Light: Soft light, on the other hand, produces gentle, diffused shadows and is more flattering to the subject. This type of light is often created using large light sources or by diffusing smaller lights with softboxes or umbrellas. Soft light is ideal for portrait photography, as it smoothens out skin textures and reduces harsh shadows.
Both hard and soft light can be used creatively depending on the effect you want to achieve.
Key Lighting Techniques in Photography
Photographers use different lighting setups to achieve specific effects and highlight their subjects in the most flattering way. Here are some popular lighting techniques:
1. Rembrandt Lighting
Rembrandt lighting is a classic lighting technique used in portrait photography, named after the famous painter who often used this style. This technique involves positioning the light source at a 45-degree angle to the subject, creating a triangle of light on the cheek opposite the light source. It adds depth and dimension to the subject’s face and is especially flattering for individuals with angular features.
2. Butterfly Lighting
Butterfly lighting, also known as paramount lighting, is a technique that creates a butterfly-shaped shadow under the subject’s nose. This is achieved by positioning the light directly above the subject’s face, creating an elegant and flattering effect. It’s often used in beauty photography and fashion shoots.
3. Split Lighting
In split lighting, the light source is placed to one side of the subject, casting half of the face in shadow and the other half in light. This technique creates a dramatic and moody effect and is commonly used for high-contrast portraits or to convey a sense of mystery.
4. Backlighting
Backlighting involves placing the light source behind the subject. This technique creates a silhouette effect, where the subject is dark against the light. It’s ideal for capturing dramatic, high-contrast images or creating a halo effect around the subject’s outline.
5. Three-Point Lighting
Three-point lighting is a standard lighting setup used in portrait photography and film. It involves three lights:
- Key Light: The main light source, placed at a 45-degree angle to the subject.
- Fill Light: A secondary light source, placed at a lower intensity on the opposite side of the key light to soften shadows.
- Back Light: A light placed behind the subject to separate them from the background and add depth to the image.
This setup is commonly used in studio environments and creates well-lit, balanced portraits.
Lighting for Different Types of Photography
Different types of photography require different lighting setups. Below are some tips for specific genres:
- Portrait Photography: Soft, diffused lighting is generally preferred for portraits. Natural light or softboxes work well to create a flattering look. Lighting techniques such as Rembrandt or butterfly lighting can help shape the face and add depth.
- Product Photography: In product photography, controlled lighting is essential to highlight the details and textures of the product. Softboxes, light tents, and diffusers help create even lighting and eliminate harsh shadows.
- Landscape Photography: Landscape photographers typically rely on natural light, especially during the golden hour. The angle and intensity of the sunlight can dramatically affect the mood and composition of the scene.
- Event Photography: Flash lighting is often necessary for event photography to illuminate the scene, especially in low-light conditions. Understanding how to balance ambient light with flash is key to achieving well-exposed, natural-looking photos.
Conclusion
Lighting is a fundamental aspect of professional photography that has a profound effect on the mood, composition, and quality of an image. By understanding the different types of lighting—natural and artificial—and learning various lighting techniques, photographers can enhance their work and achieve the desired results.
Whether you’re capturing the warmth of the golden hour or creating dramatic lighting with a flash, mastering lighting is key to becoming a successful photographer. Experiment with different setups, refine your skills, and learn how to use light creatively to tell powerful stories through your photos.


